


How-To Guides about Camtasia Studio

how to
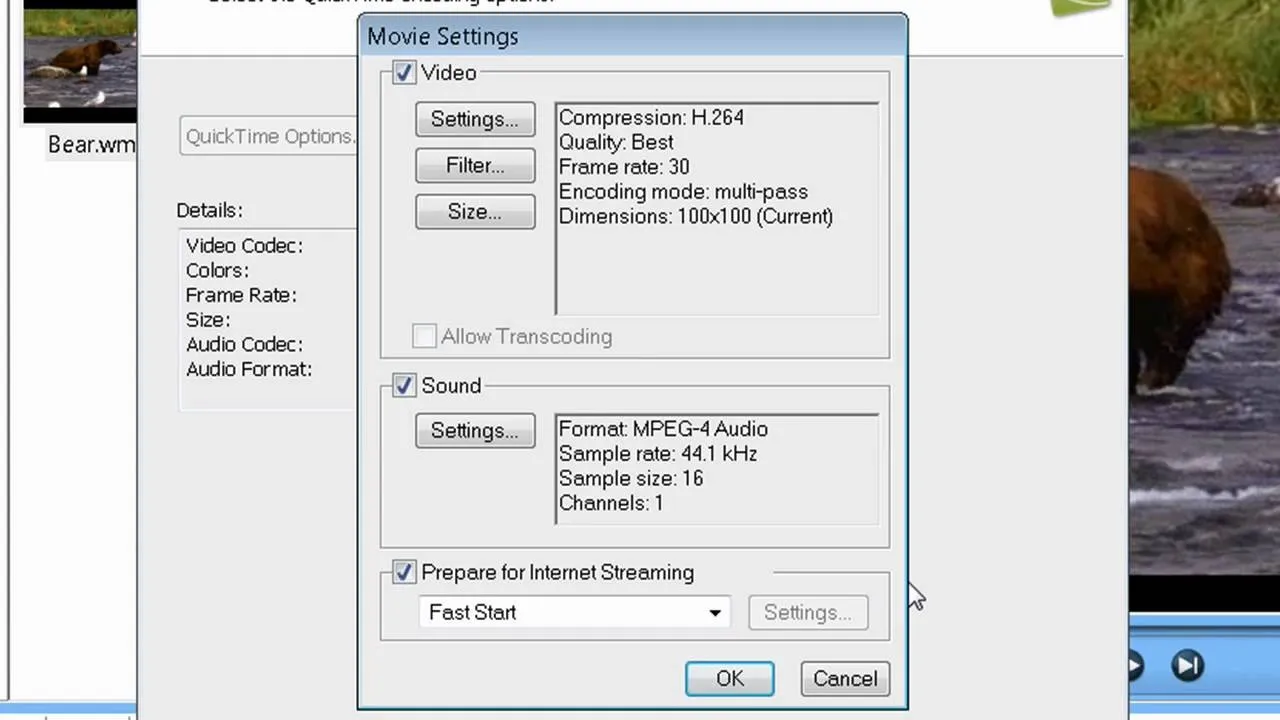
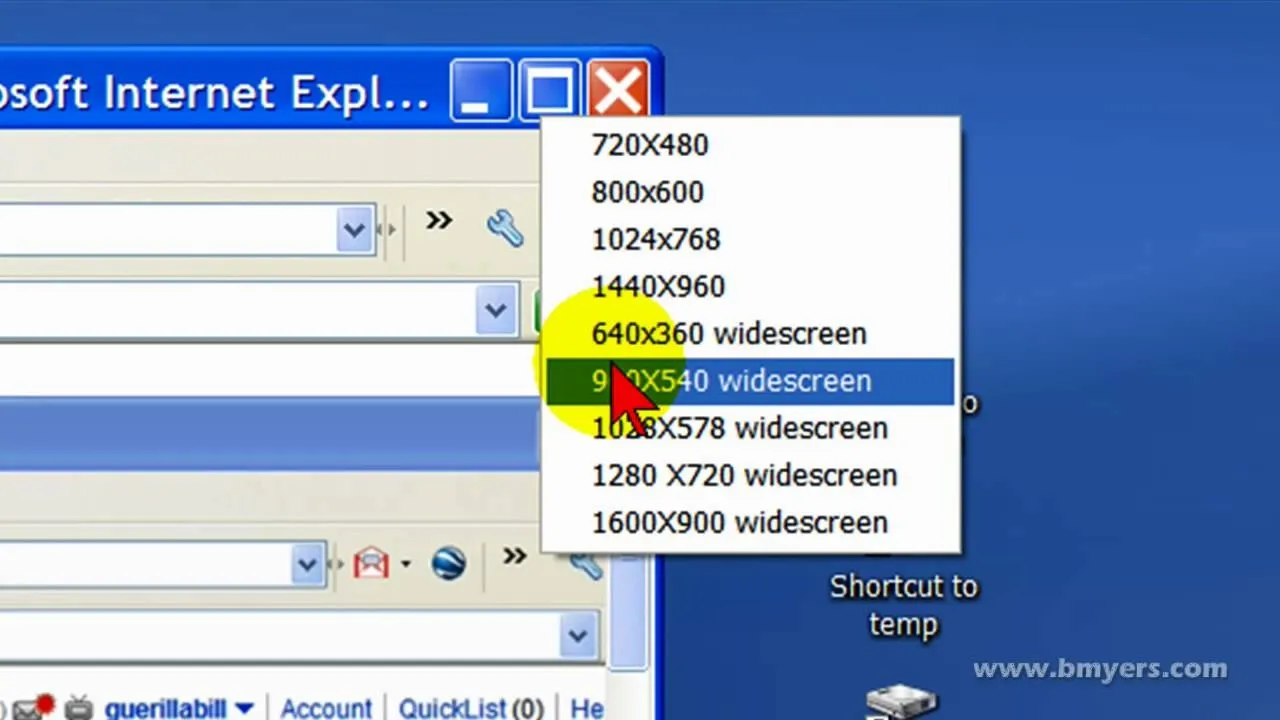
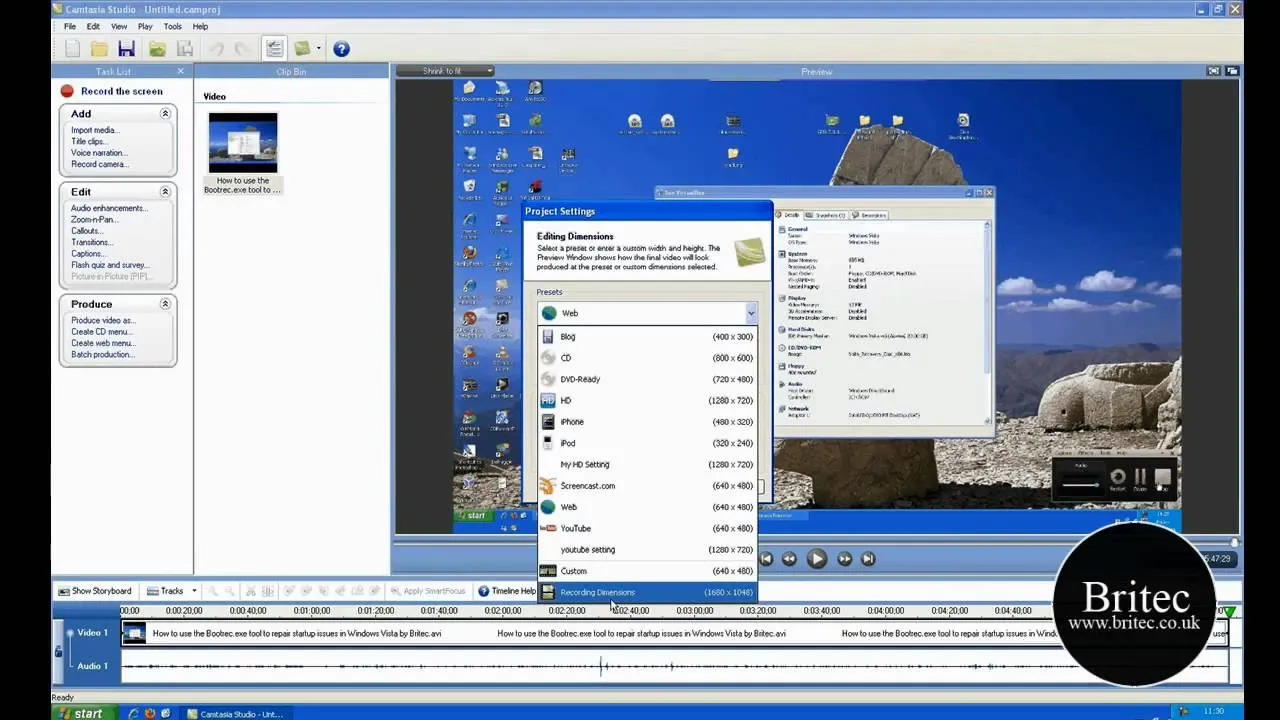
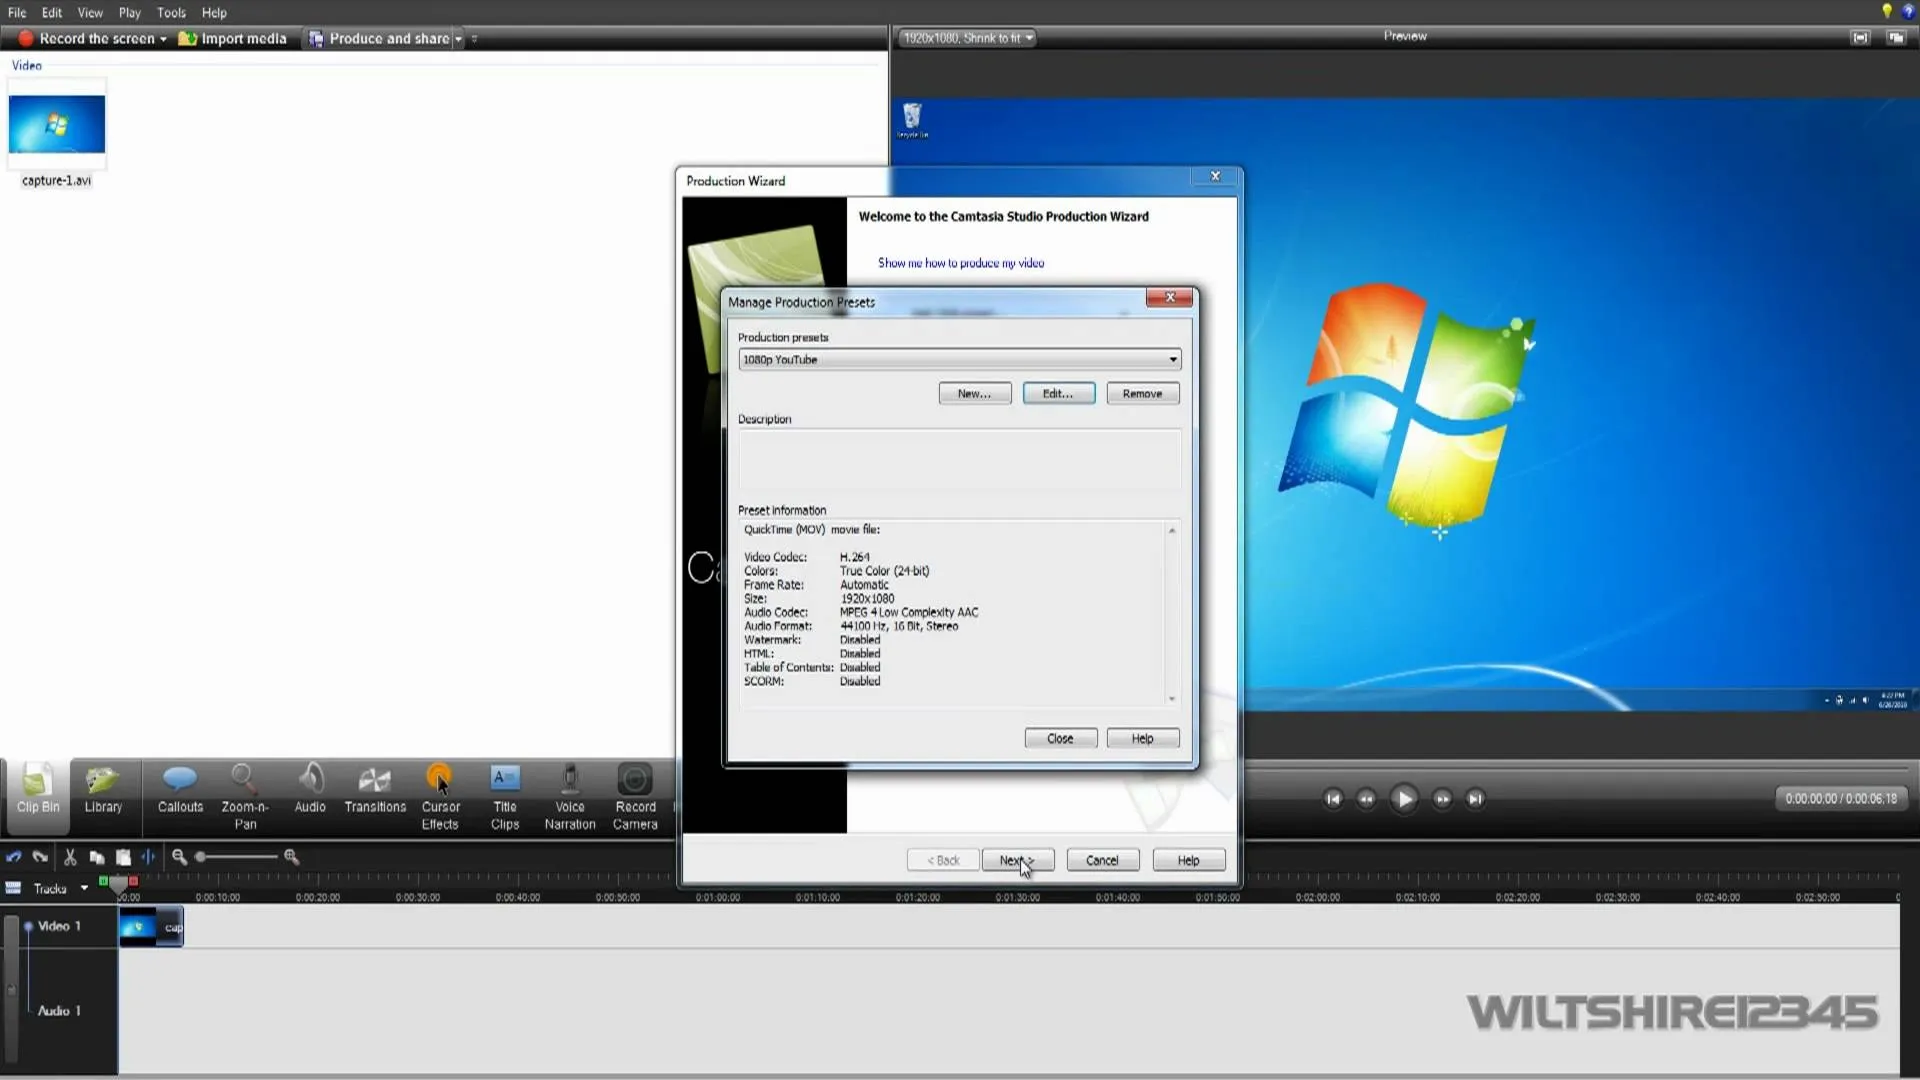
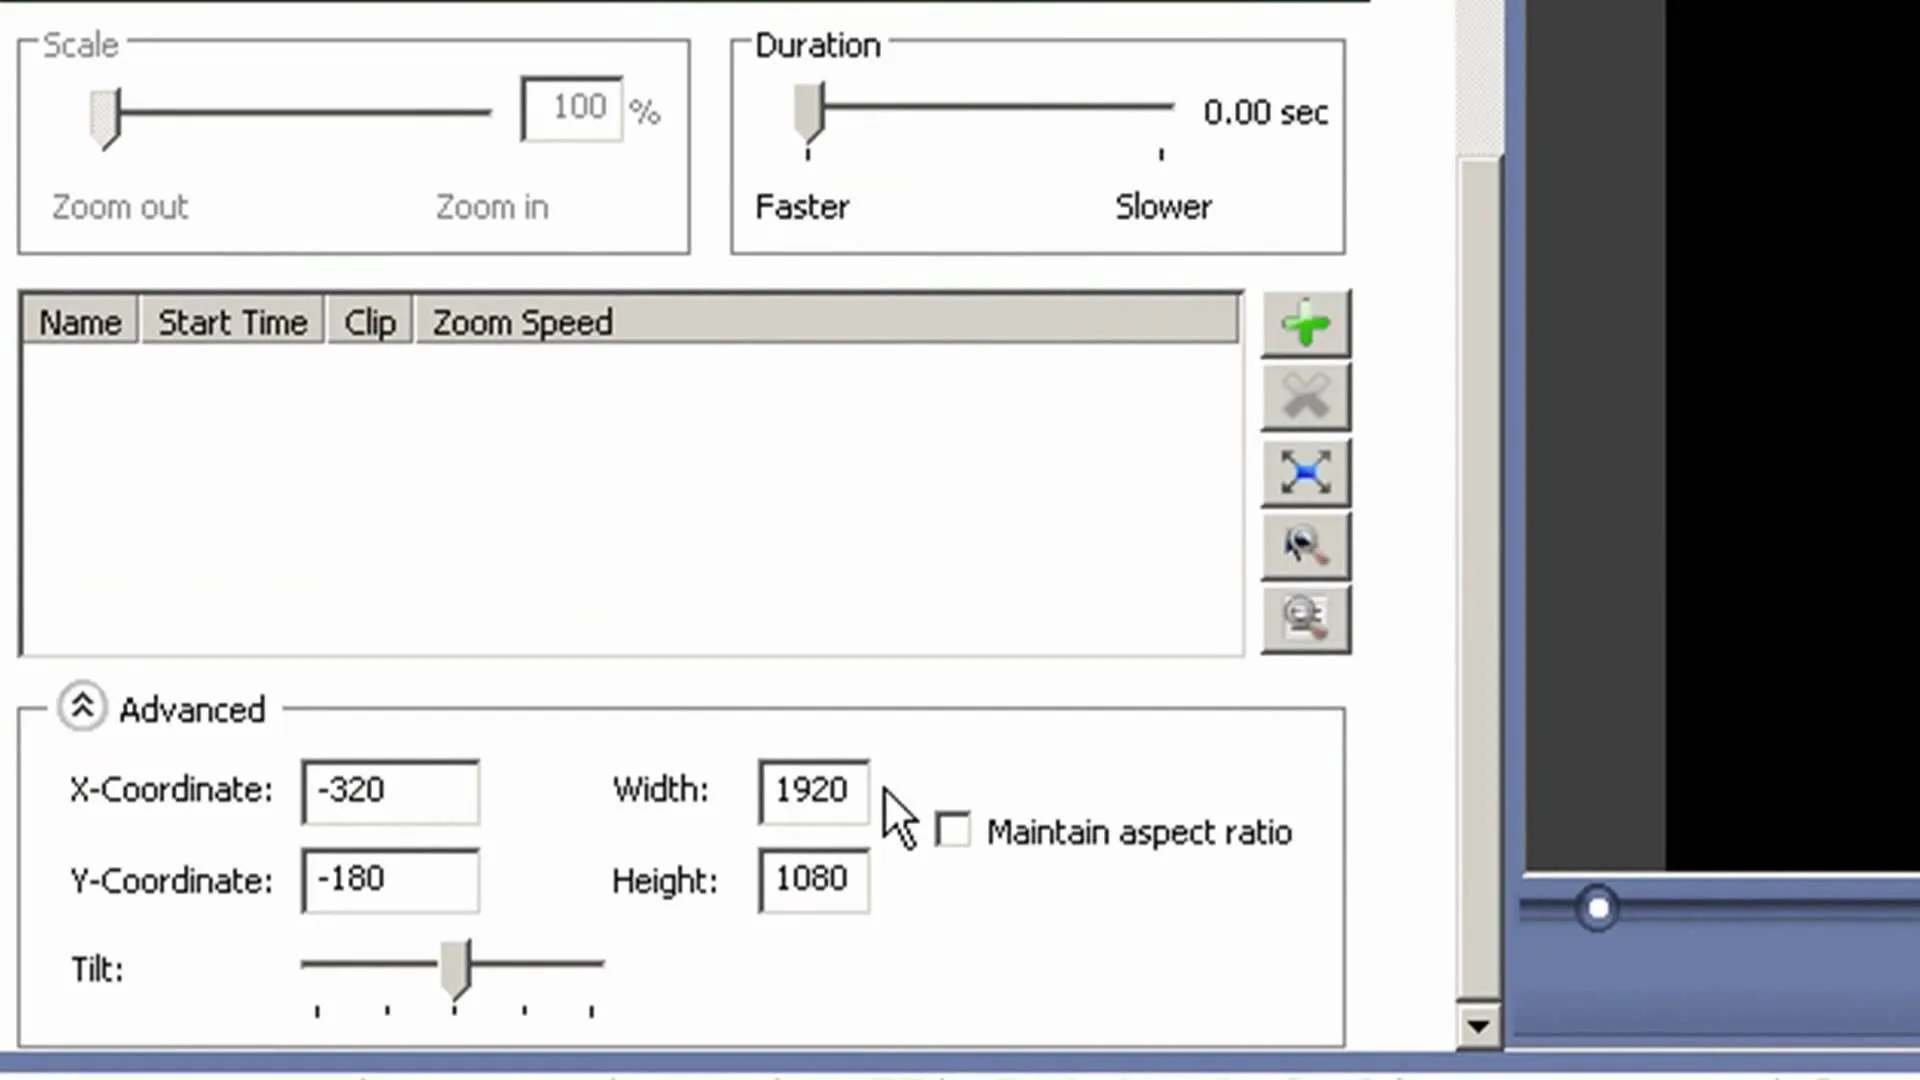
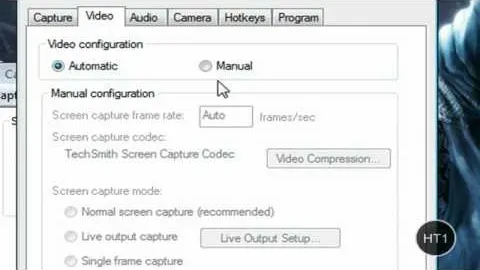
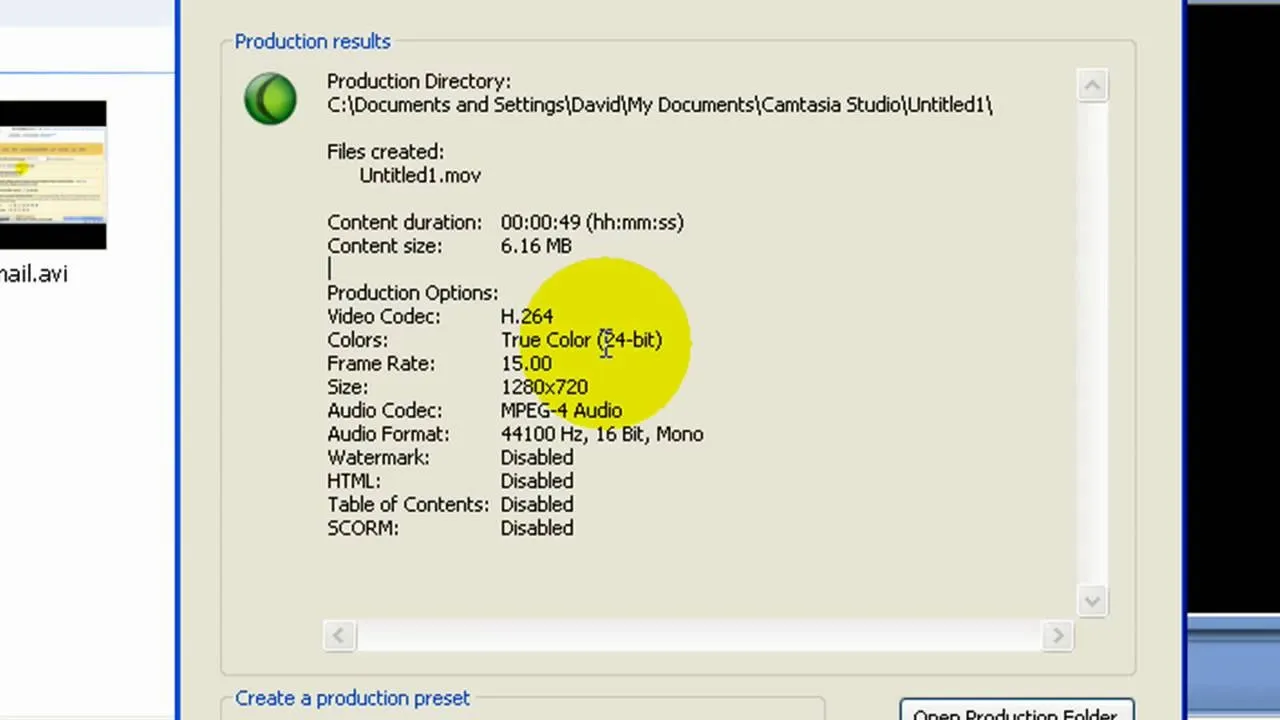
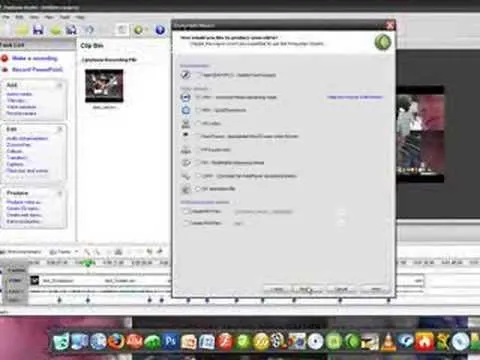
How to Get high definition settings in Camtasia Studio
how to
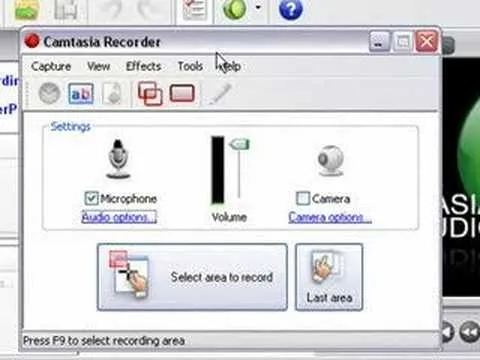
How to Enhance the audio in your Camtasia Studio 5 videos
how to
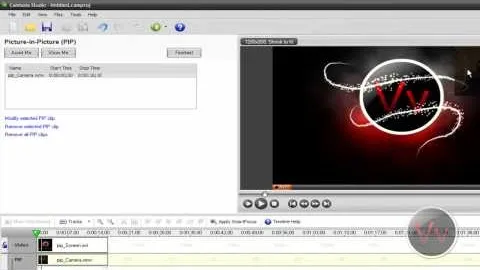
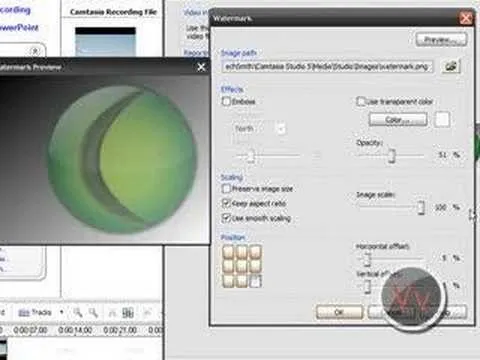
How to Enable Picture in Picture (PIP) in your Camtasia Studio projects


Featured On WonderHowTo:
Productivity & Shortcuts


Featured On WonderHowTo:
Music & Audio


Featured On WonderHowTo:
Augmented Reality


Featured On WonderHowTo:
Gaming


